
Micro Radar Project
I like doing some tinkering projects. Especially when it comes to robotics, I find it exciting to work on a physical object interacting with the real world. I think it is because I have written so much code that lives only on the web, it just feels different.
Recently, I came upon a project called Micro Radar. The goal is to build a small device that displays the planes currently flying over a specific location. One of my friends loves knowing where the planes they see in the sky come from, and I thought it would make for a very nice gift.
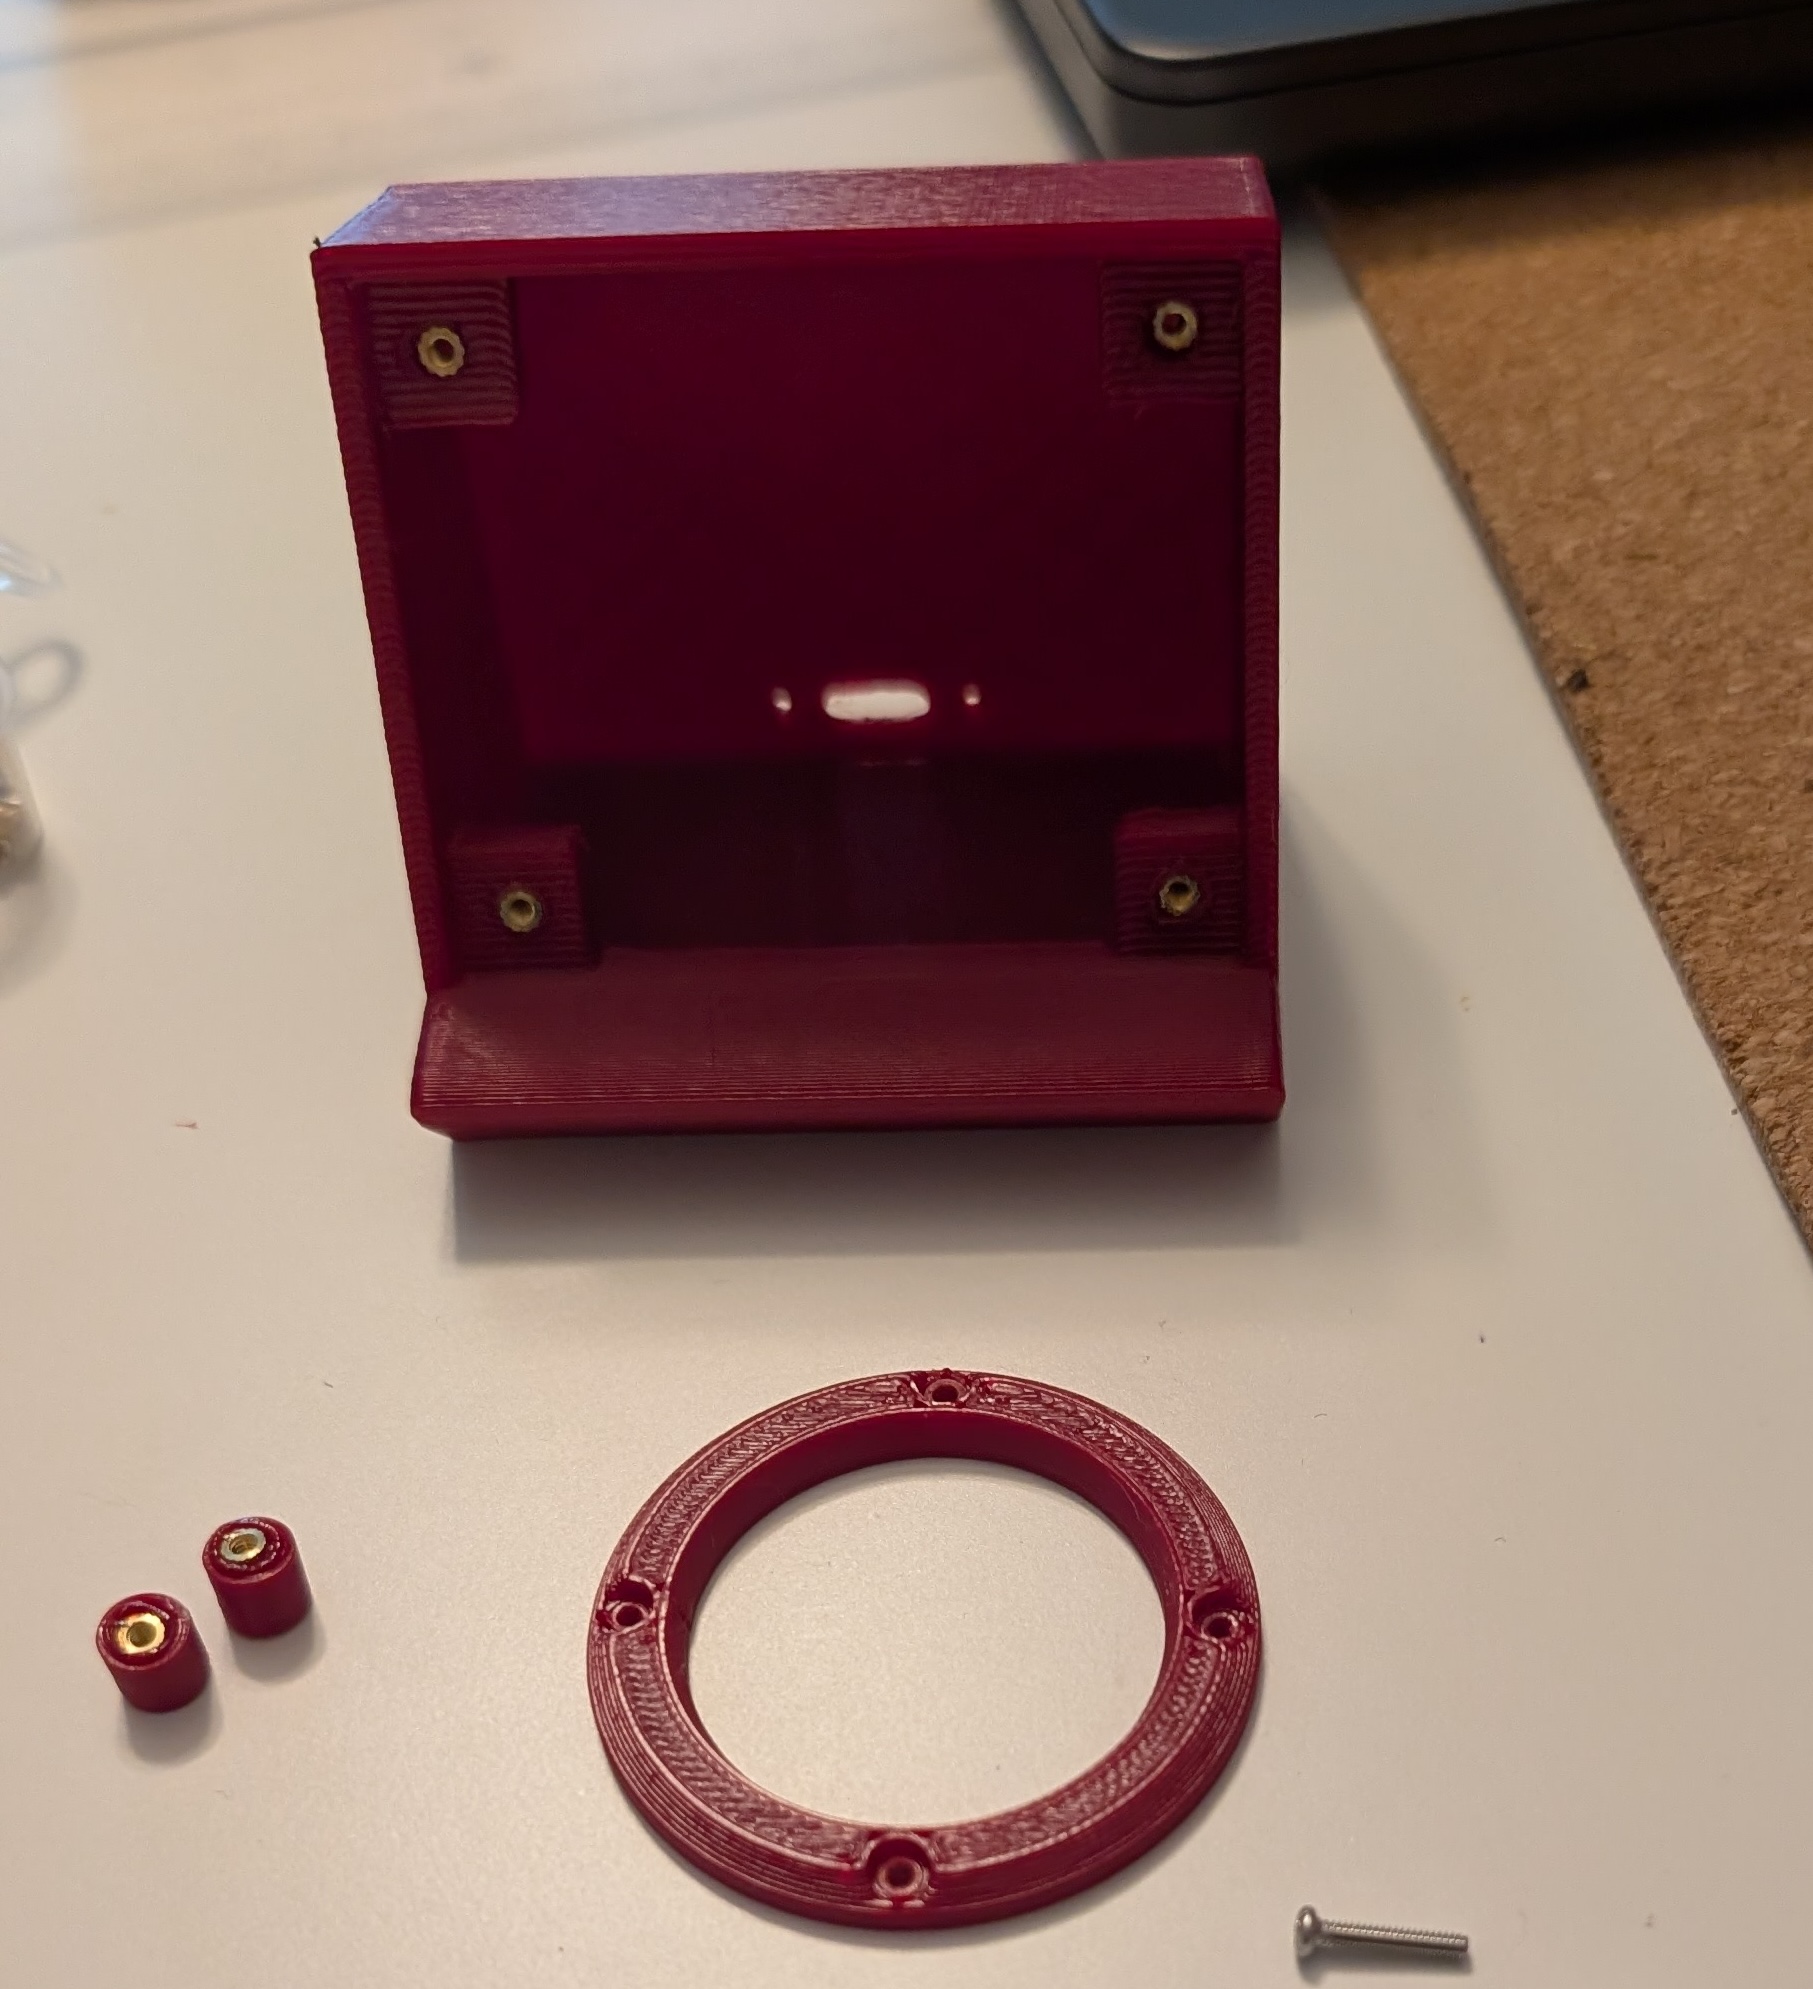
First, I printed all the pieces using the STL files in the repo. My local library has a 3d print service, so I went there for it. It all went smoothly.
The second part of the project was to assemble the glass lens to the front panel. The project describes it as optional, but it definitely gives a more polished look, and I really wanted to use it. Plus, the glass lens linked in the project has a slight "zoom" effect on the screen behind, which helps with reading what is on the screen! I positioned the lens where I wanted it to be, then used a toothpick to spread some clear epoxy all around.
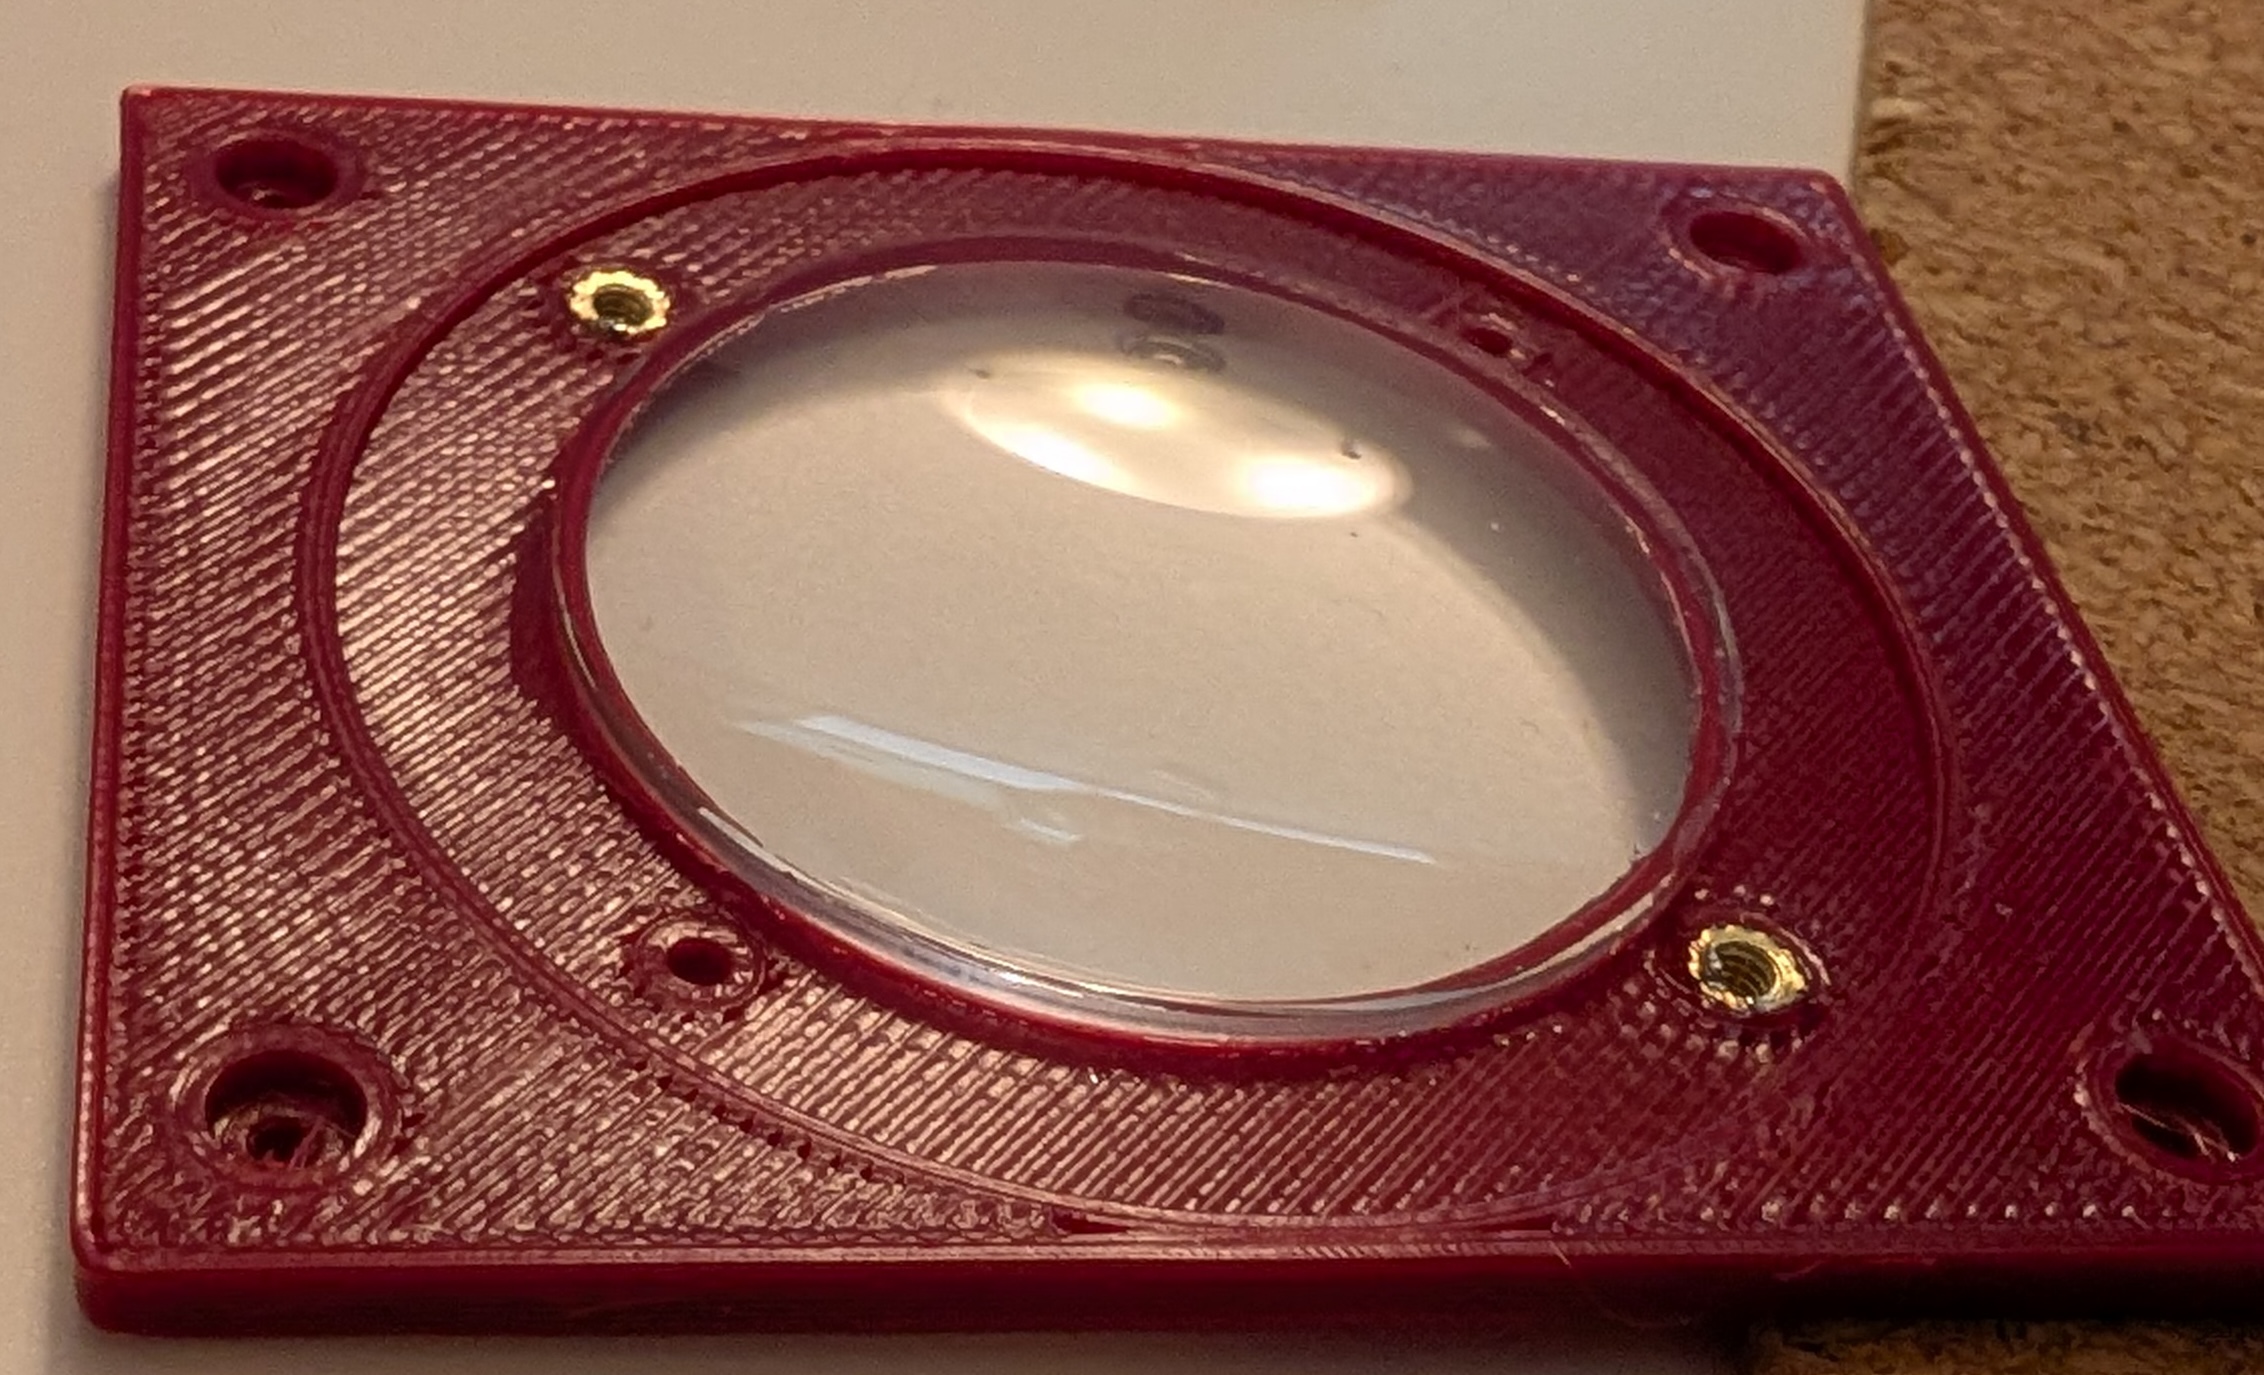
For the bezel, I found that the 5mm screws required in the instructions were too short to account for the lens, so I used 6mm screws instead.
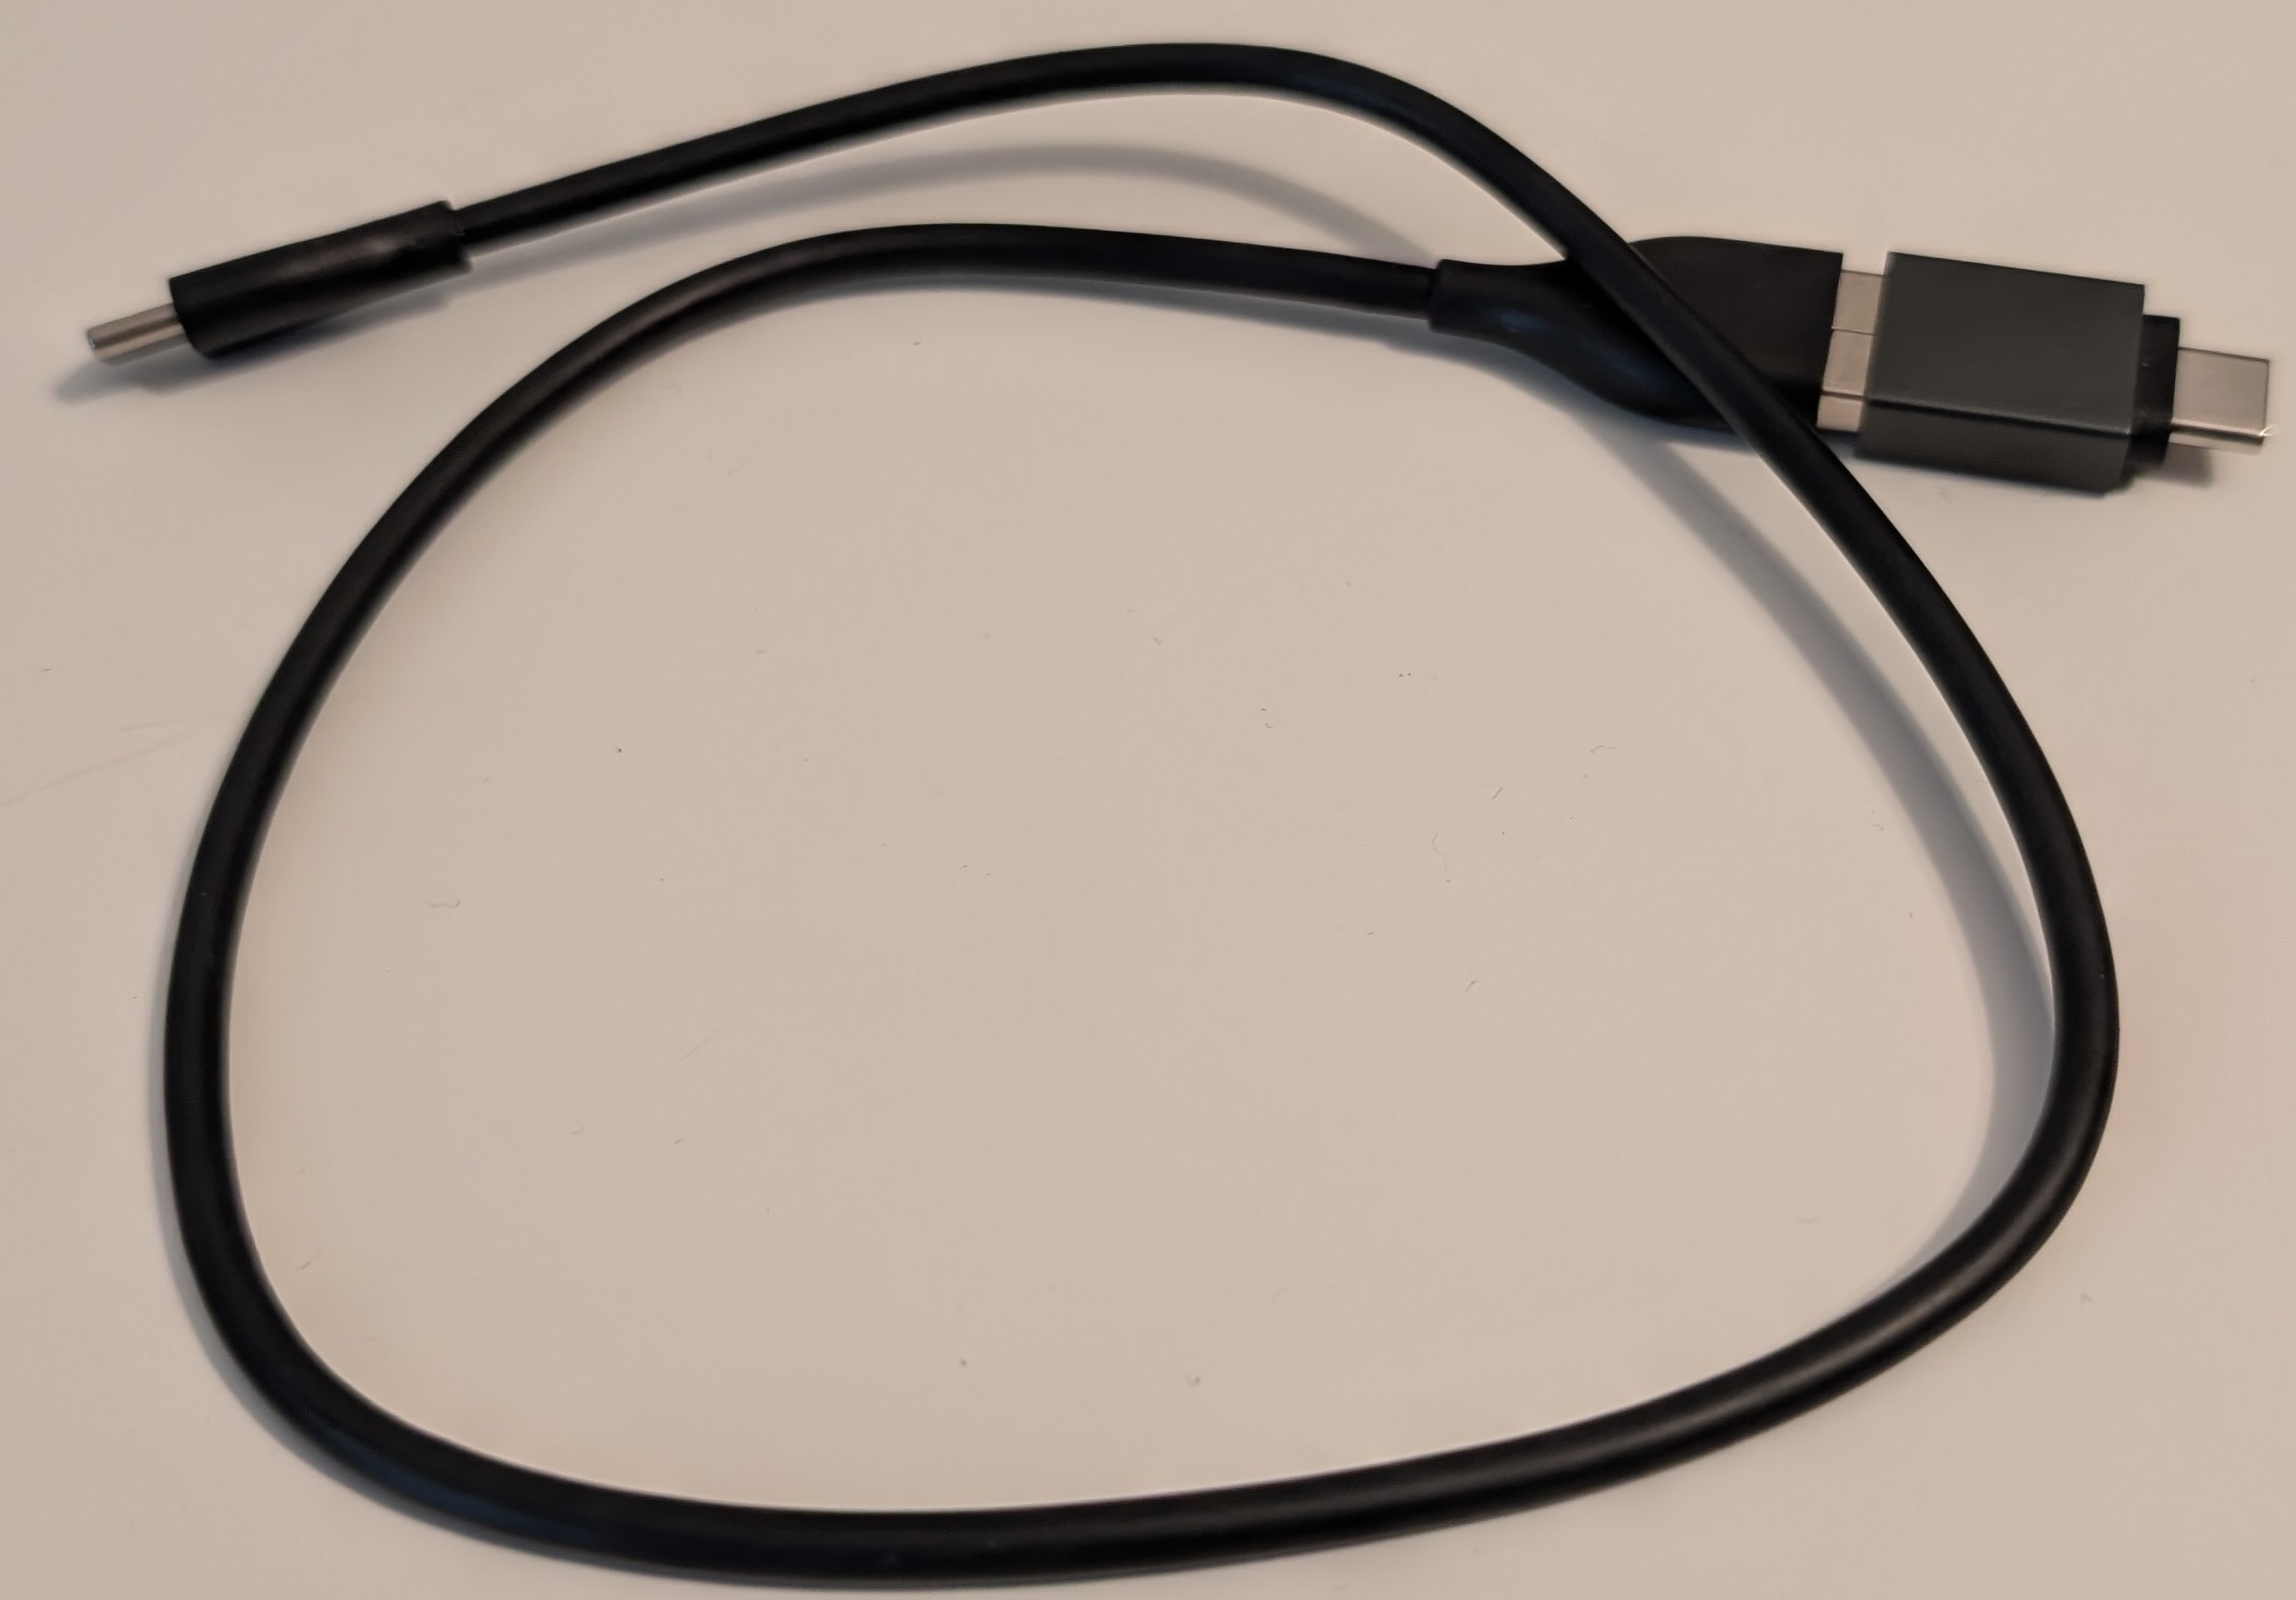
Next was testing that the software was working well with the board. That took me waaay longer than it should have. The reason for it is the cable. See, my computer only has usb-c plugs. I didn't think much of it, and just took a usb-c to usb-c cable to link the computer and the board.
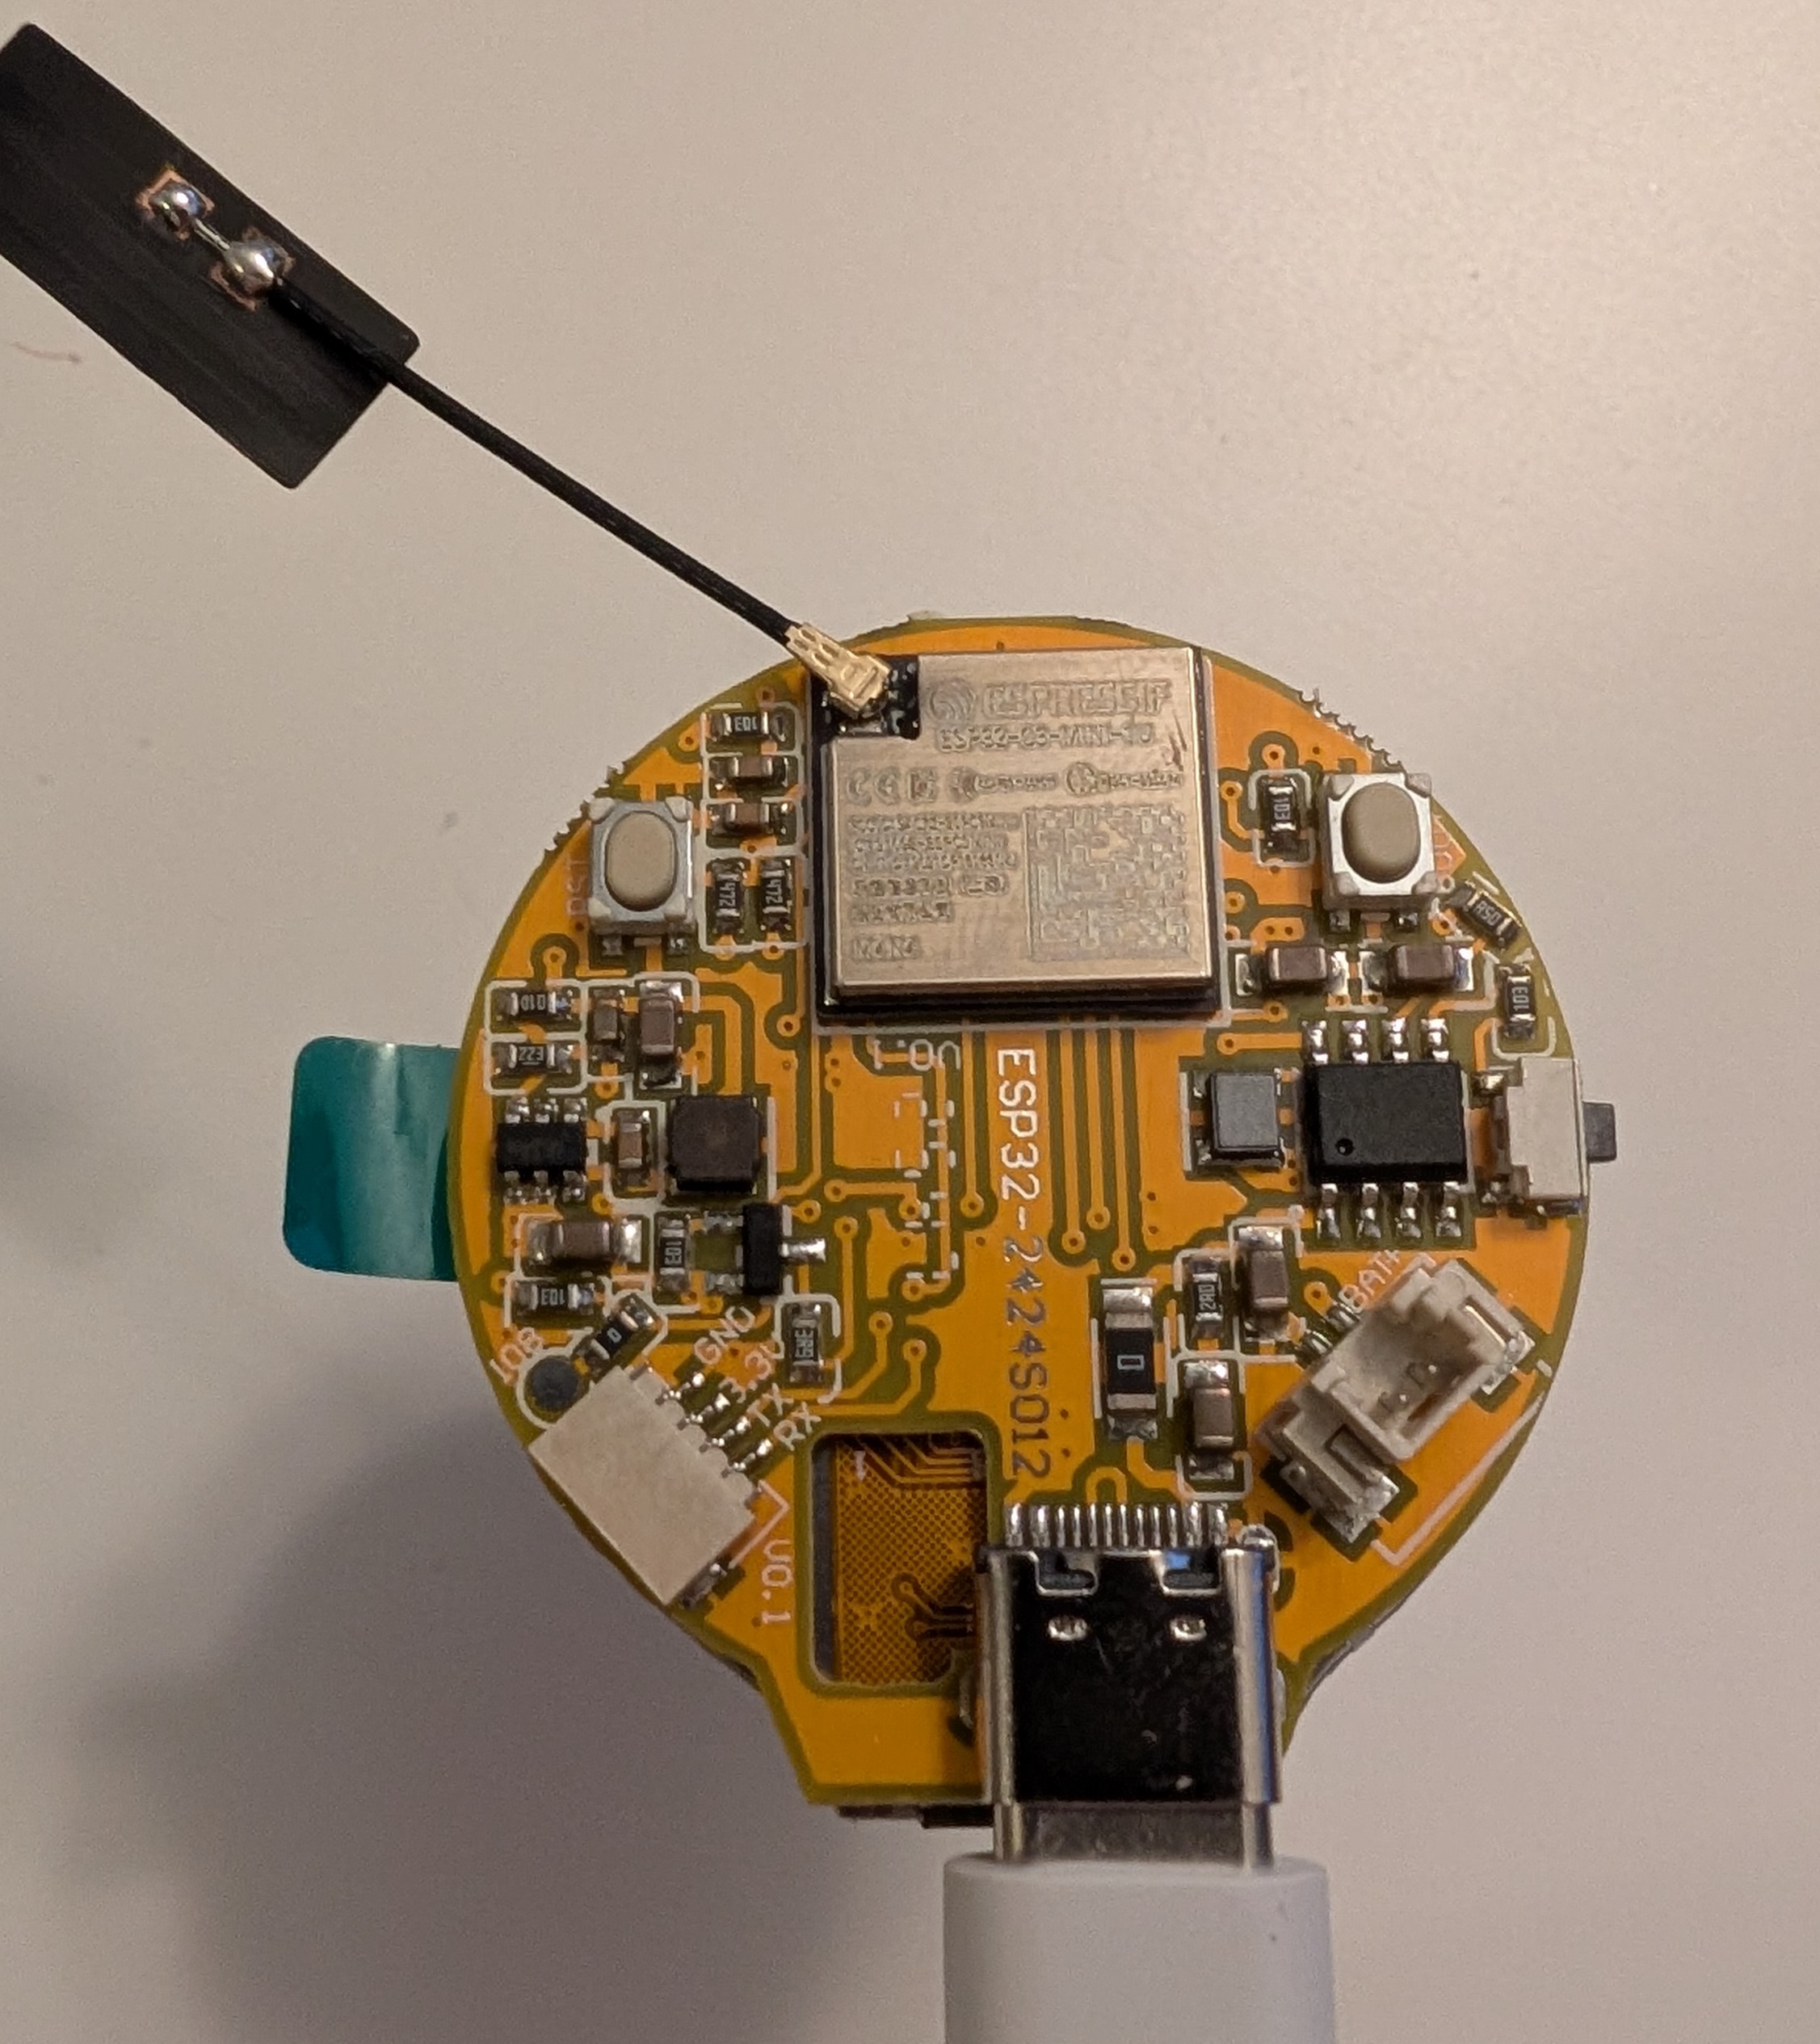
It did not work, and it took me a while to understand why. Apparently, the usb-c protocol starts with a "check" to make sure one end is a power source and the other is a power sink.
My assumption is that on this board, the usb connector just got switched from a usb-a to a usb-c without implementing the means for this check to happen. So, when plugged in to my computer, the computer would check, not receive any answer, and so not deliver any power. Same thing with a modern usb-c phone charger plugged in the wall by the way, which had me so confused. So, the solution was to buy a cheap "usb-c male to usb-a female" adapter, then use a usb-c to usb-a cable. No check, no problem, the device booted right away!
When the device starts, you will see an example of a display on the screen right away, so you cannot miss it.
Then came loading the software. Instead of using the platformio extension in vscode, I preferred installing the platformio cli tool. Overall, it went well. Since I am using a macos silicon chip, I had to update the platform value in the platformio.ini file. Instead of espressif32, I had to use a fork of the project that would compile for arm64. The new value I have used is: https://github.com/pioarduino/platform-espressif32/releases/download/55.03.39/platform-espressif32.zip (literally just the link to the zip file).
From then, there was just one small compilation error, which I solved by replacing those two lines:
mathieucarbou/ESP Async WebServer
mathieucarbou/AsyncTCP
by:
https://github.com/mathieucarbou/ESPAsyncWebServer.git#v3.6.0
https://github.com/mathieucarbou/AsyncTCP.git#v3.3.2
Once done, all compiled properly and I was able to setup my wifi connection!
After testing for a bit, I realized that the information available via the OpenSky API did not include the origin and destination of the planes! That was a big let down for me, because my friend really likes knowing that. I found some free APIs that would deliver this information, but C++ is not really my language and I had already spent way more time than anticipated on this project.
So the AI came to the rescue. I asked it to implement a new feature and it did a good job. The idea is to use the adsbdb and hexdb APIs. If you provide them with a flight number, they will tell you a whole bunch of additional information! In order to make sure I am not overwhelming the APIs, we use them both alternatively. If for any reason this new http call fails, we just display the information we have, so it is transparent to the user.
I ended up removing the speed display, and replaced it with the departure / destination airports' code: AAA -> BBB.
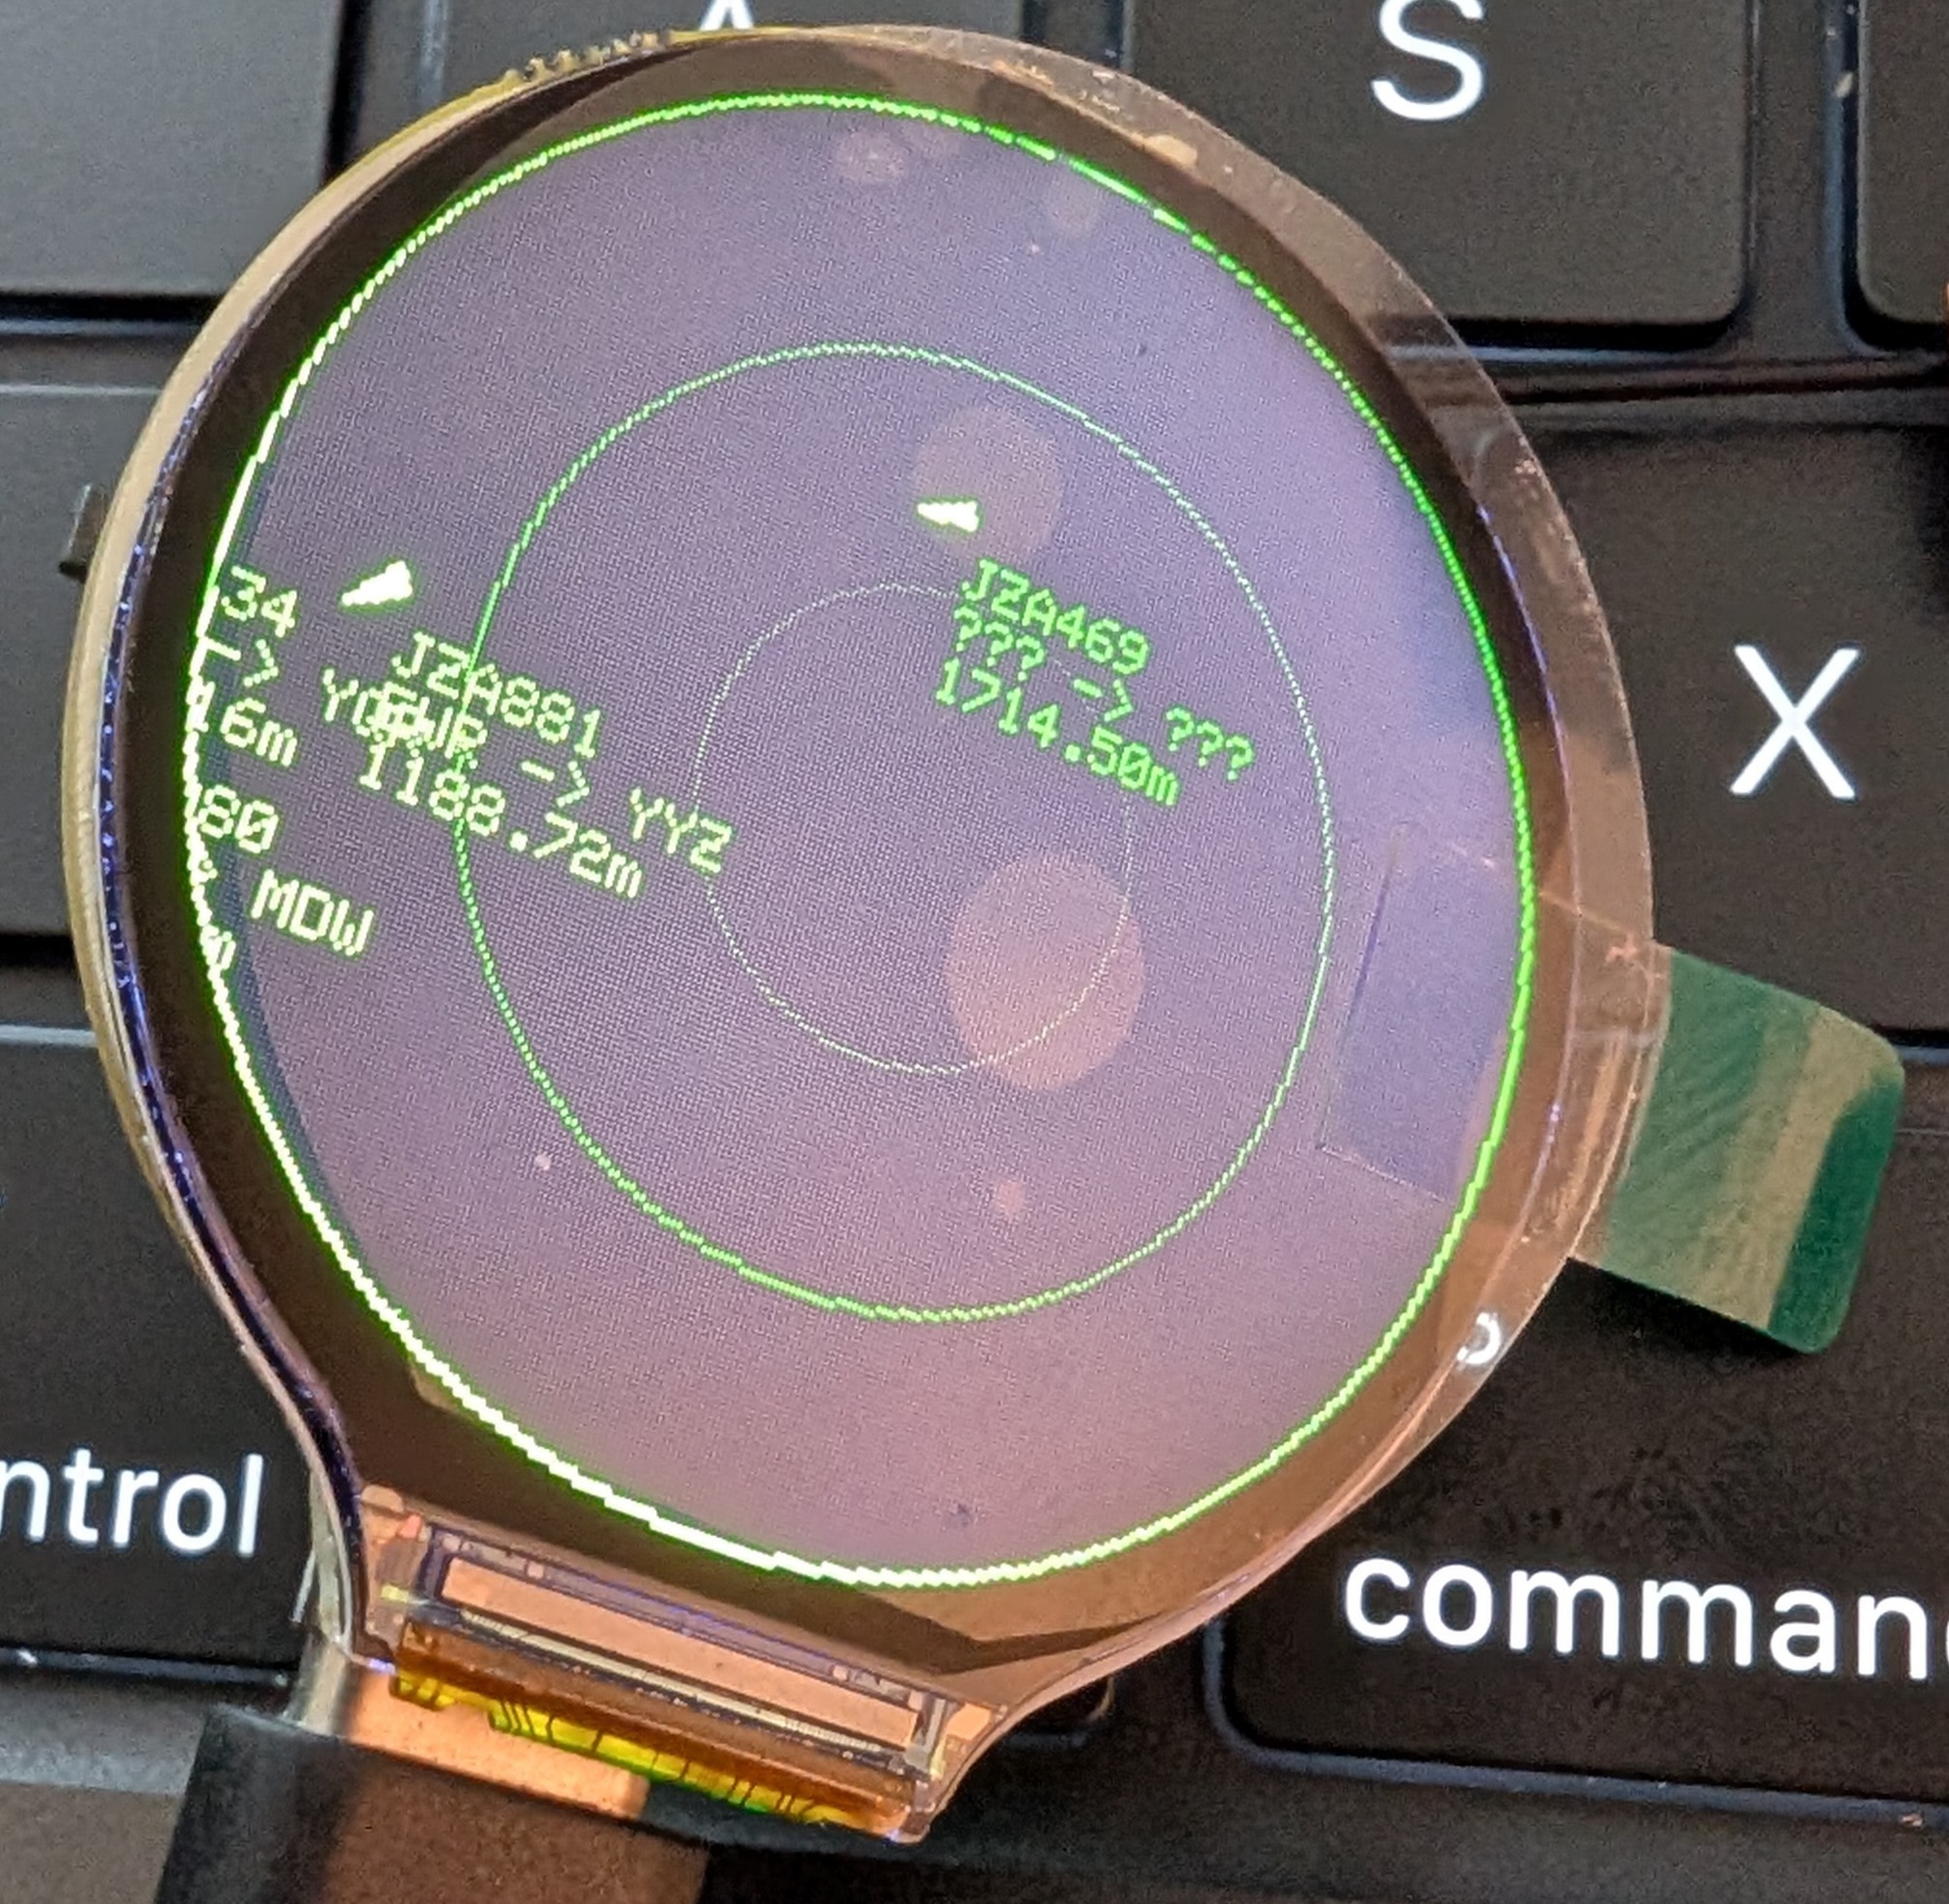
On the picture, you can see one of the plane's destination being YYZ! If for some reason the API call does not fail but the information is not provided, we just display question marks instead (see the picture as well). This was pretty neat!
From there, I attached the screen inside of the front panel. I found it impossible to do so using the two spacers, so I replaced one of the spacers by a heat insert (I just used it as a nut) and it worked well. Like the instructions say, I would recommend to leave the board plugged in while you do so. Having something displayed on the screen greatly helps with positioning it properly. Once I was happy with the position, I used a little more epoxy to keep it in place.
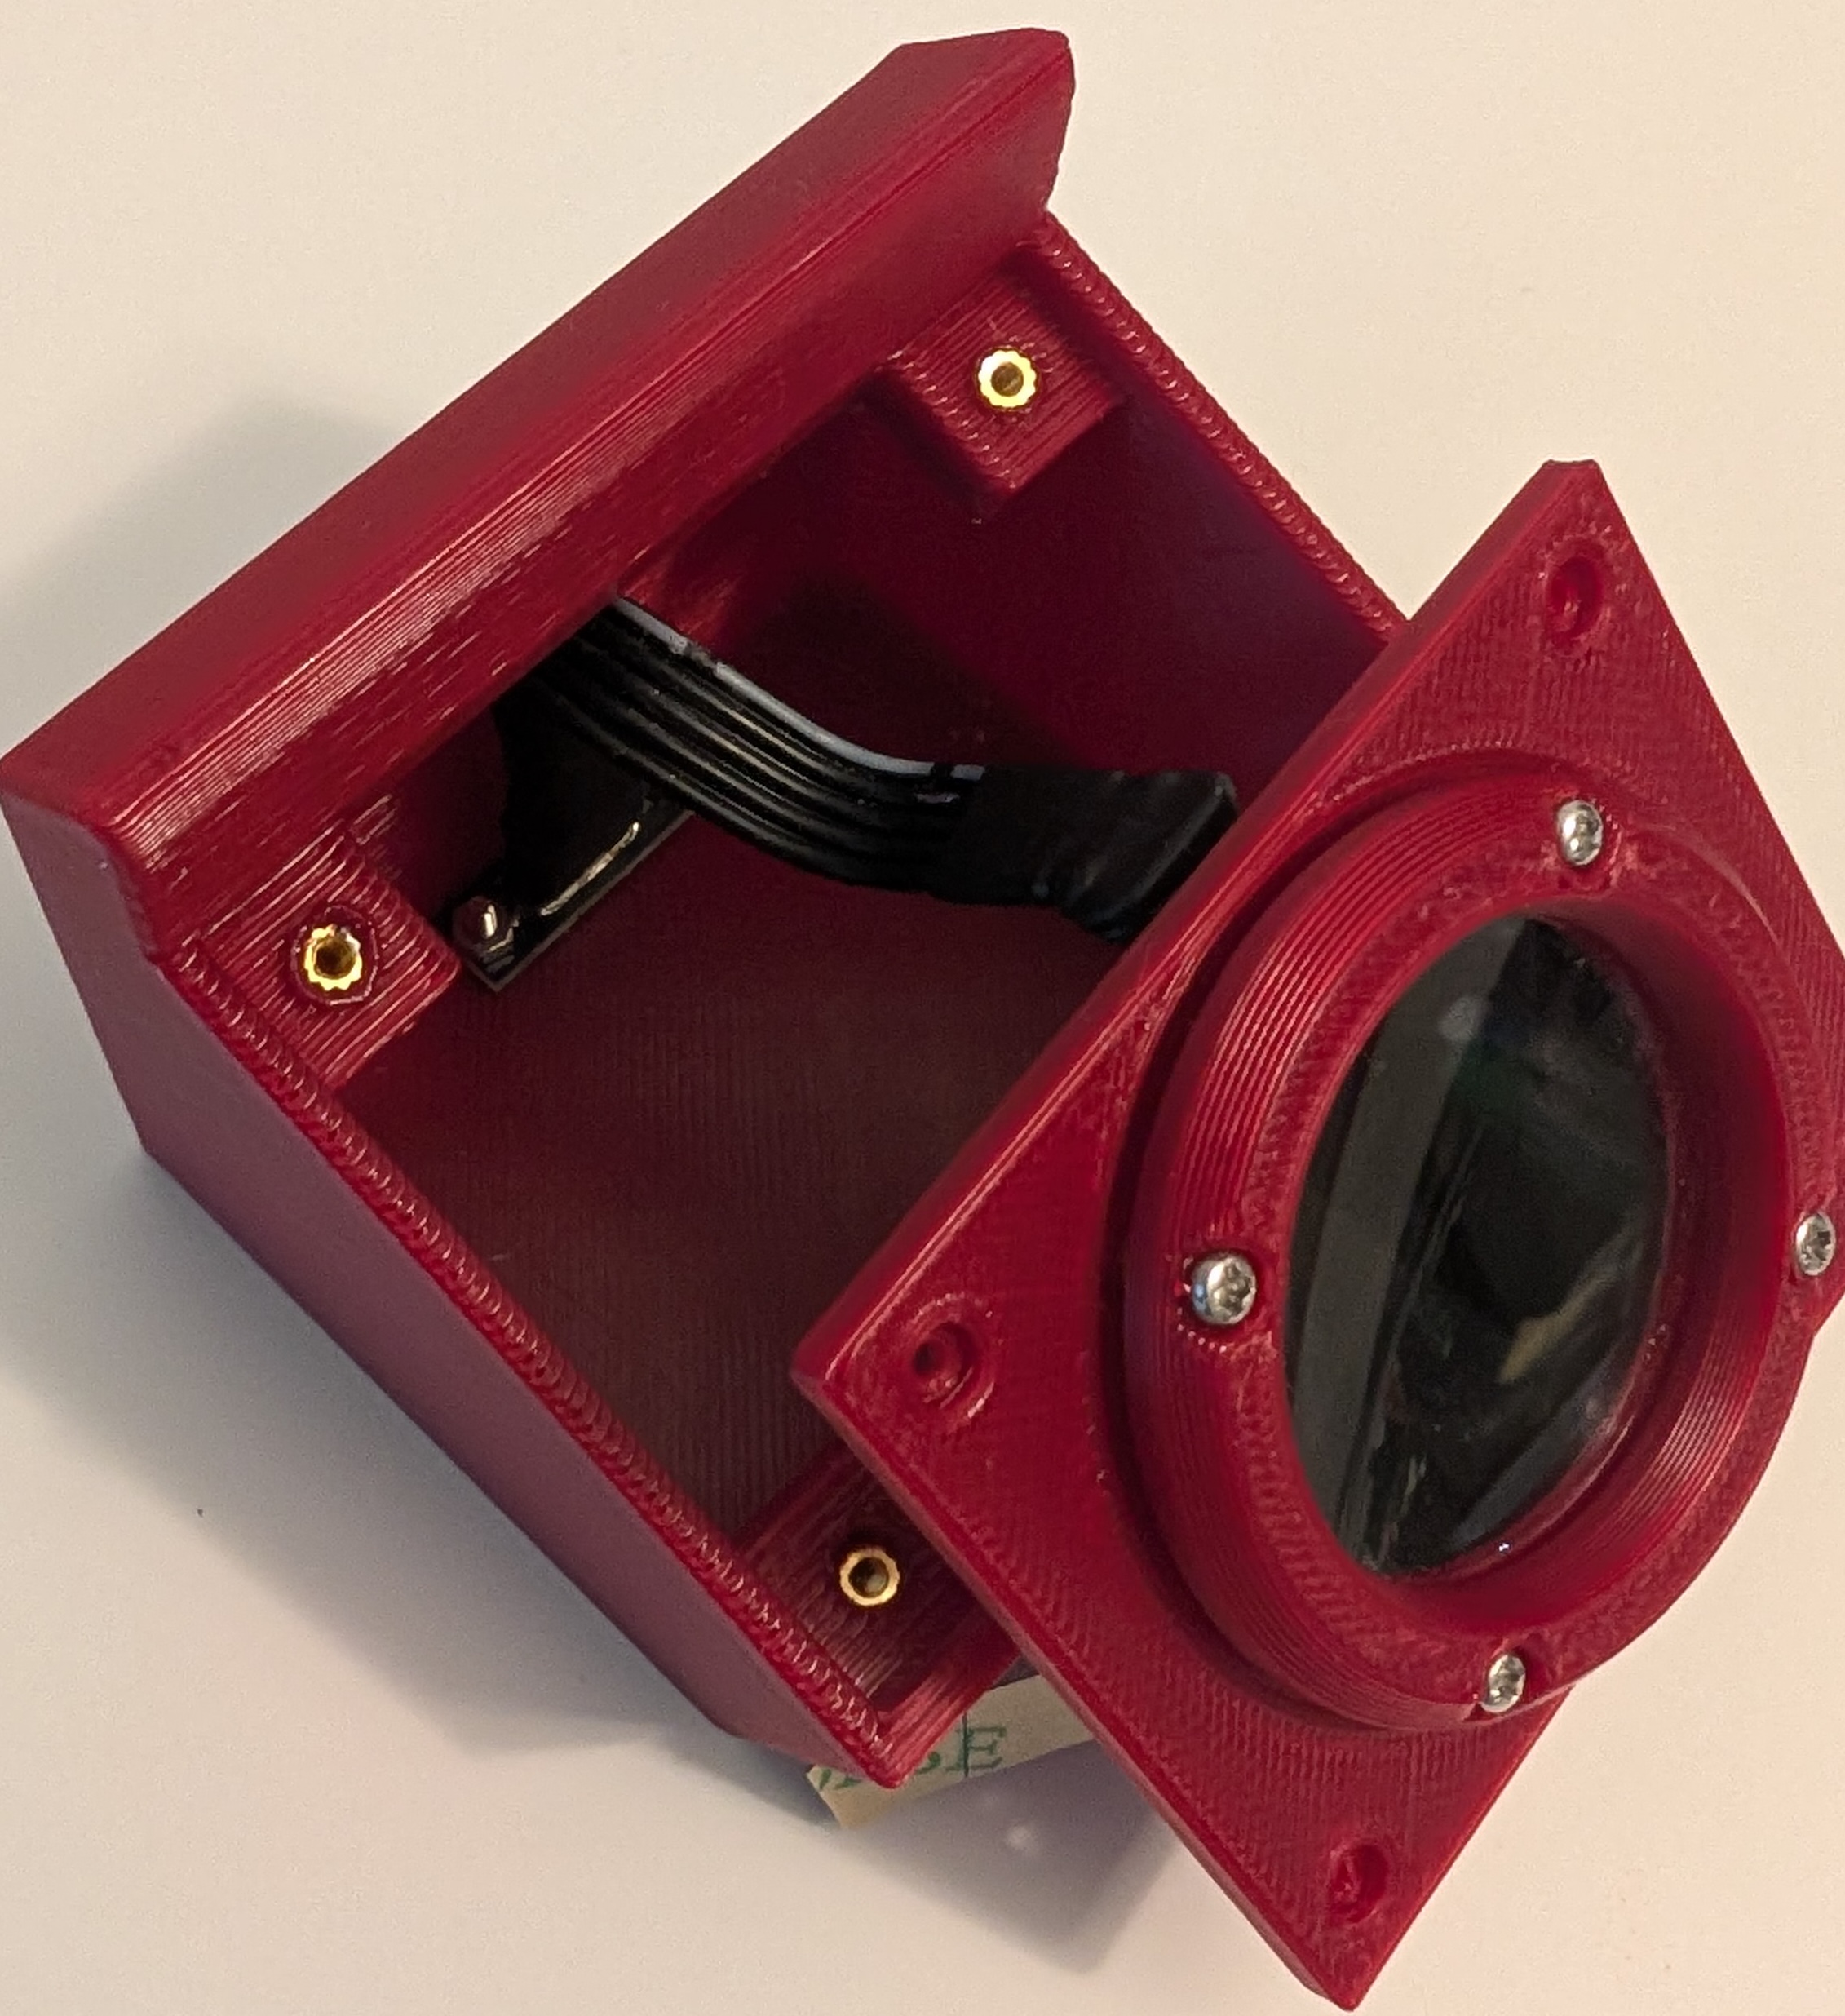
The next step was to set the usbc extension cable inside the enclosure. Nothing too complicated there, I used flat tweezers to screw the nuts properly.
Time for the final assembly! While closing the shell, I did not align one of the screws properly with the heat insert and it broke. So note for self: If you hear a screeching sound while tightening the screw, it is NOT some plastic forced down the heat insert!
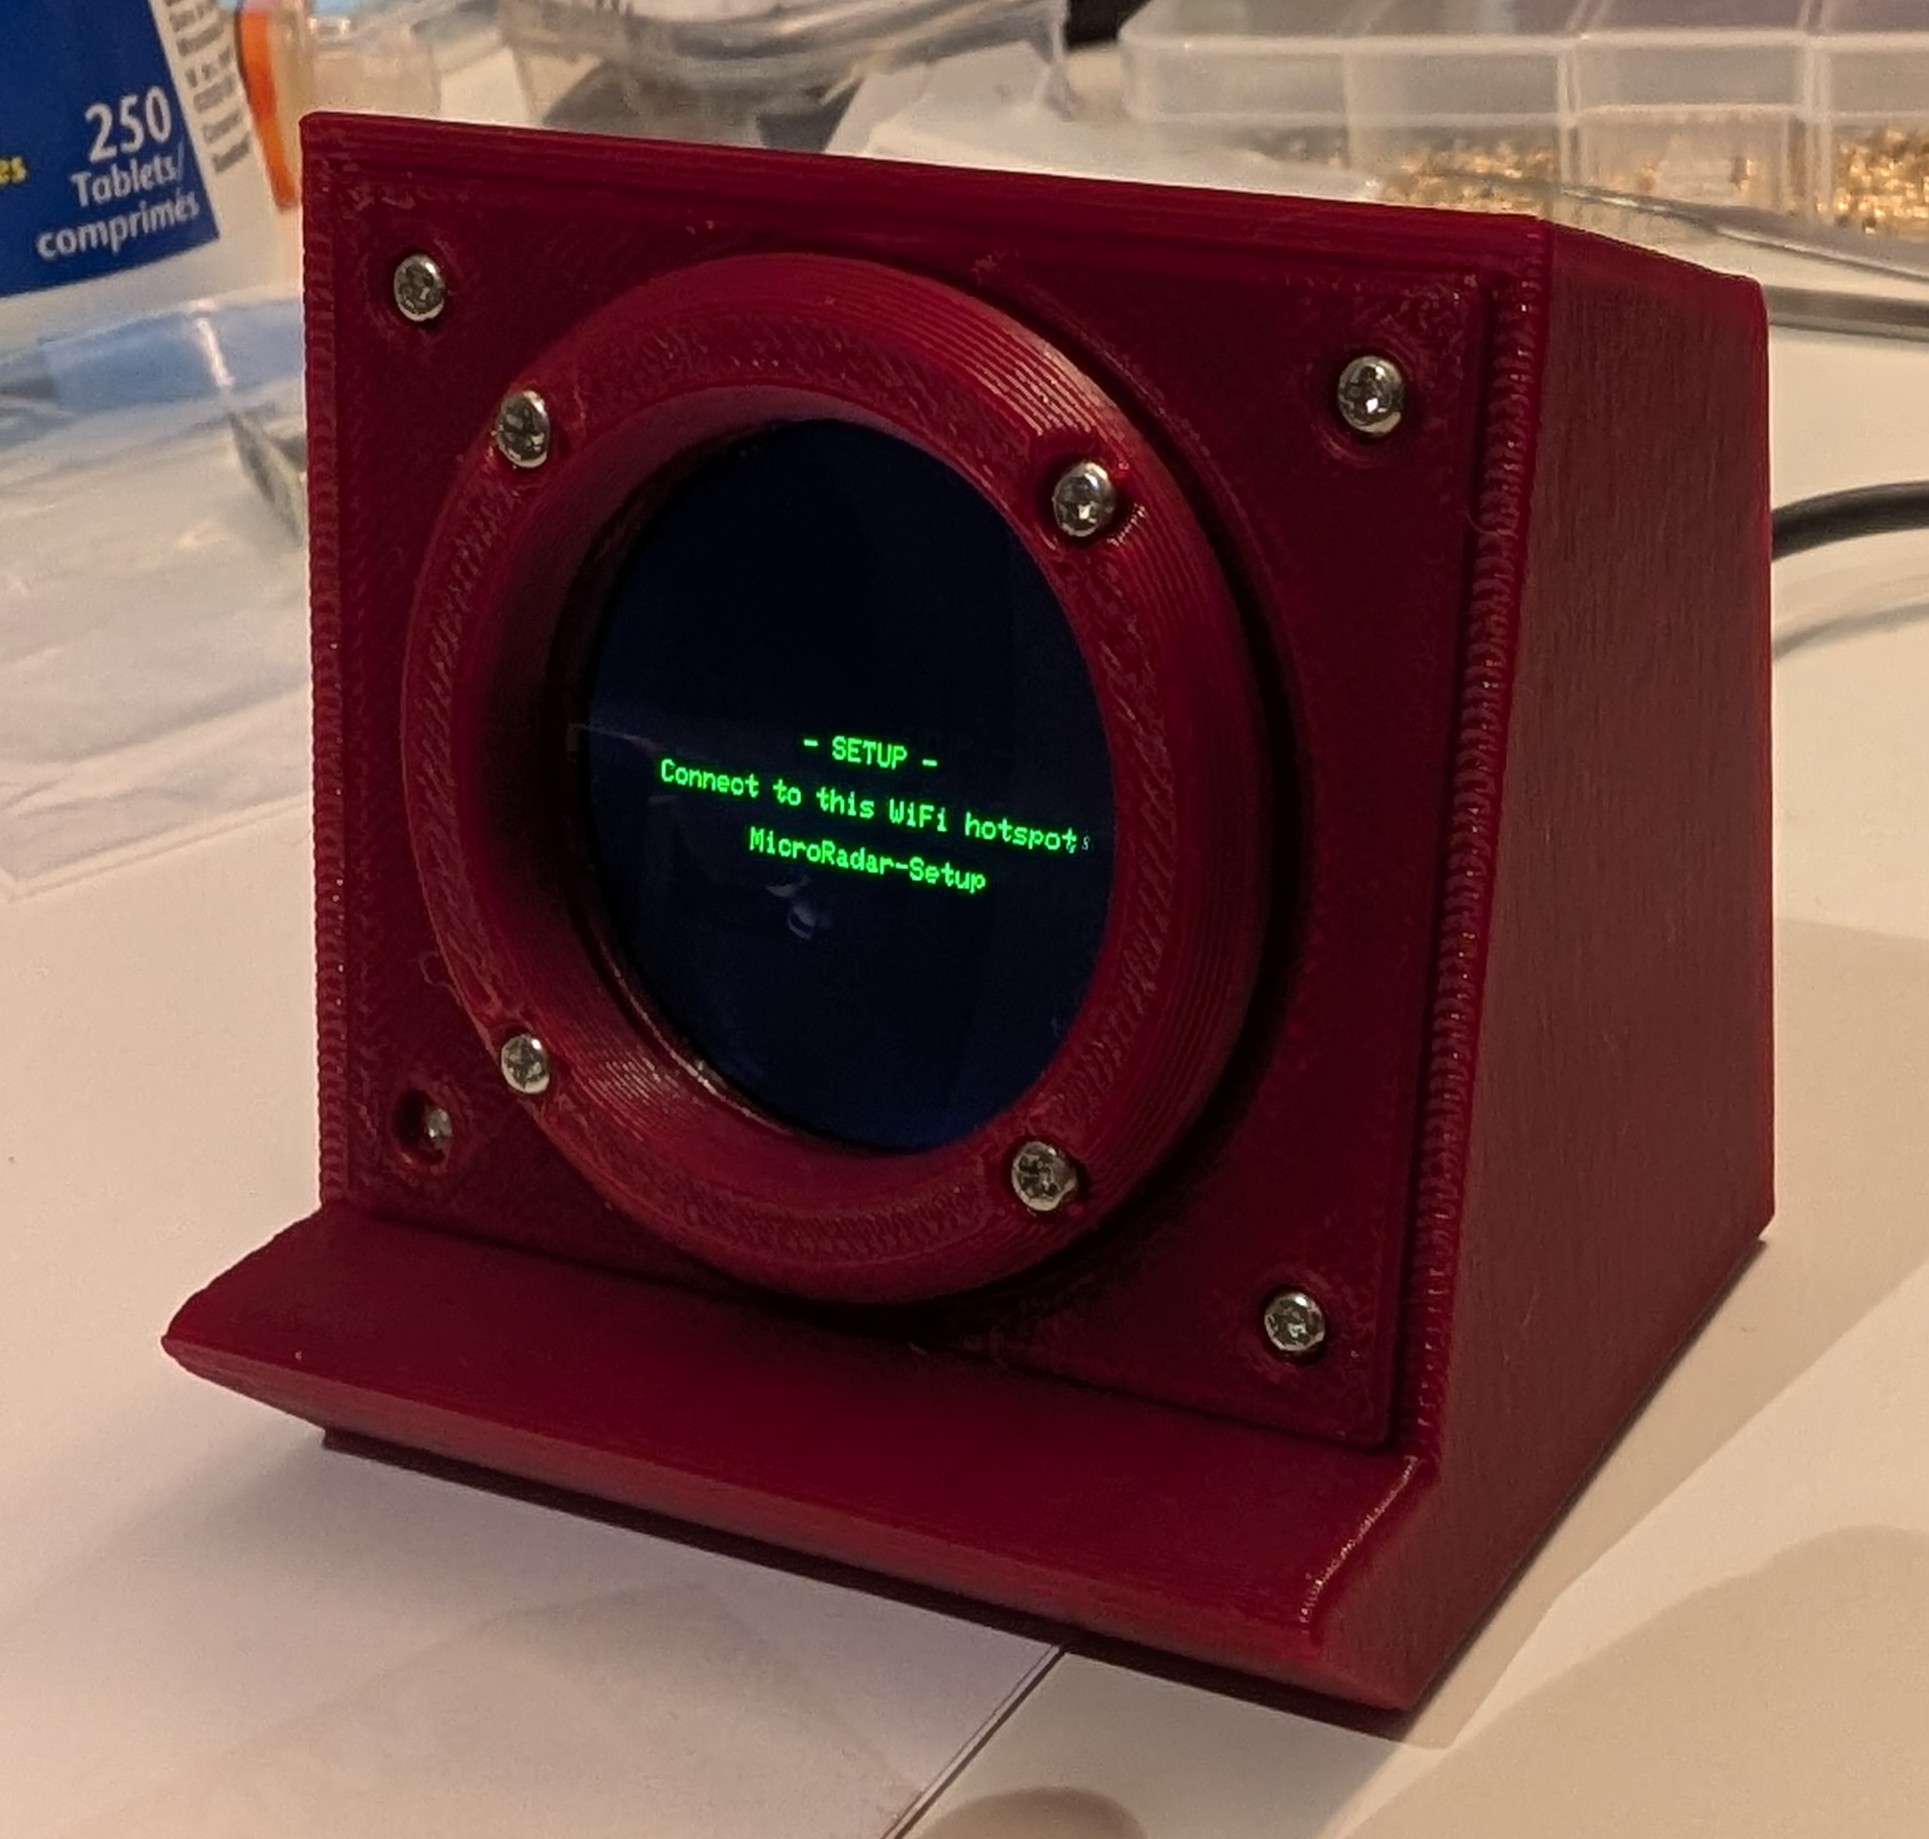
And that was it! Overall very cool. Note that once the enclosure is closed, it is not possible to reprogram the board (I am guessing because of the extension cable?). Since I had run some tests on my network, before closing everything I connected the board to my computer one last time and ran the following commands:
pio run -t erase
pio run -t upload
This way the board boots in setup mode once more. If it fails too many time to connect to the wifi, it will go back to this state eventually, so it is not mandatory, but I would rather start with a clean state at my friend's place.
I hope they will have as much fun using it as I had making it! Thank you AnthonySturdy for your project. If you want to see the additional airport information, the code is available here.